

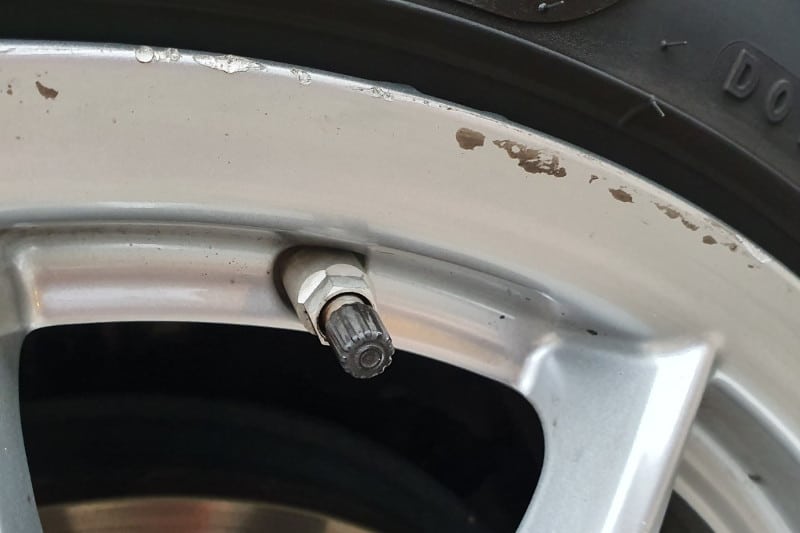
how to fix a scratched rim
Removing scratches and curb rash from your rims by yourself might seem easy — at first. But, you won't believe how easy it is to mess something up and cause even more damage. So, to save you the trouble of taking your car to a repair shop, I'll give you some useful tips on how to fix scratched rims the right way.
Sure, you can always have a professional do the job for you. But, if you're like me, you like fixing your car yourself. This quick and easy guide is for people who have the patience and don't mind using some elbow grease.
Things You'll Need
I made this guide with simplicity in mind. So, most of the things you'll need are common household items that you probably already have. The tools you'll need will depend on the extent of the damage. If your rims are badly damaged, you'll need the following:
- Safety glasses
- Dust mask
- Spray bottle
- Sponge
- Microfiber cloth
- Rubber gloves
- Masking tape, note cards, or playing cards (I'll explain)
- Rotary tool (optional)
But, for damage that's not so severe, you'll only need some of the items from the list. For example, you won't need safety glasses, a mask or rubber gloves.
As for the products, you might have to buy some of them if you've never repaired rims before.
- Sandpaper
- Metal reinforced filler — if your rims have deep gouges or grooves
- Metal polish
- Clear coat remover
- Rubbing alcohol
- Paint
- Clear coat paint
Taking off the Wheel or Not?
The first thing you should do before fixing your scratched rims is to assess the damage. If you want to get rid of a minor curb rash, you don't need to take the wheel off. But, if the damage is more extensive, you might have to.
Your goal should be to clean the rims thoroughly and you can do that only when you remove the wheels. Also, if you'll be using a rotary tool for sanding, taking off the tire will make your life much easier.
But, not everyone is comfortable with jacking up their car and unscrewing the wheels. Ultimately, you'll have to make the call. Just know that some repairs could look sloppy if you have trouble reaching the entire surface of the rim.
How to Fix Scratched Rims (Step-By-Step Guide)
1. Washing the Wheel with Soapy Water
Regardless of the extent of the damage, you need to clean the wheel first. To do that, get a spray bottle and fill it with warm soapy water. Be sure the water is indeed warm because warm water is better at cleaning grease than cold water. For better result you can also use a wheel cleaner.
Spray the soapy solution on the rim and use the sponge to remove the dirt and grease. After, rinse the rim with cold water. You might want to repeat this step to make sure you've cleaned the wheel thoroughly.
2. Removing the Scratches
There are a couple of ways you can go about removing the scratches from your rims. You can use a rotary tool, if you have one, or do it by hand. But, the rotary tool will do a better job if your rims have deep scratches and grooves. If you plan on using a rotary tool, be sure to wear safety glasses and a dust mask.
To remove the scratches, you'll need to use 220-grit sandpaper. Depending on the damage, you can go even lower — 120-grit. The lower the grit, the more abrasive the sandpaper is.
While sanding, make sure you sand around the scratched area as well. That way, you'll get an even finish. Also, keep in mind that sanding one area for too long can create waves.
All in all, you have to be patient. Sanding metal can be tiresome, especially if your rims are badly damaged.
After you've finished sanding off the scratches, pour some rubbing alcohol on a cloth and wipe off the sanding residue. You'll know you've thoroughly cleaned everything when you don't notice any dirt on the cloth.
3. Stripping the Clear Coat
If the damage to the entire surface of the rims is extensive, you might need to remove the clear coat. You might even notice that the clear coat is peeling off by itself, especially if the rims are quite old. But, if you need to fix only minor scratches and the clear coat is fine, you can skip this step.
In a nutshell, car manufacturers put a layer of clear coat on aluminum wheels for an added shine and protection. But, after some time, the clear coat starts to peel off or becomes yellow. So, you might need to remove it entirely for your rims to look spectacular at the end.
To do so, you will need a clear coat remover. Apply the chemical remover over the entire surface of the rim. But, make sure not to get any of it on the tire. If you do, remove it straightaway. To avoid that problem altogether, you should consider unscrewing the wheel from the car and removing the tire.
Also, you'll want to use gloves when dealing with clear coat removers. They contain strong chemicals that can damage your skin. So, be extra careful.
After a couple of minutes, you'll notice that the remover has lifted most of the clear coat. If there is any left, use an abrasive sponge to remove it. You might have to repeat this process to make sure you've removed the clear coat entirely.
Finally, wash the wheel off with cold water.
4. Adding Metal Reinforced Filler to Fix Scratched Rims
If your rims have deep dents or scratches, you'll need to fill them with a metal reinforced filler . There are many different filler products on the market. So, you'll have to buy the one that's appropriate for your rims.
Simply, apply the filler to the deep scratches or grooves on your rims. Use gloves and shape the filler with your fingers. It's like playing with clay. Be sure to apply pressure to push out any air that might be trapped between the base and the filler.
But keep in mind that it's easy to make a mess when dealing with fillers. If you make a mistake or apply too much, you can always sand it down.
After you've applied the filler and let it harden, use sandpaper to blend the filler with the surface of the rim. You can use 80-grit sandpaper. Then, switch to 220-grit and repeat the sanding process from step 2.
5. Polishing the Rim
Now that you've sanded down the scratches and removed the clear coat, it's time to polish the rim. For this step, you'll need a spray bottle with soapy water and wet sandpaper. Be sure to use finer sandpaper — 400-grit.
First, spray the soapy water on your wheel and the sandpaper. Water will prevent the aluminum particles from sticking to the sandpaper. If you notice any imperfections, don't be afraid to apply a little more force while sanding.
After you finish the first round of sanding, switch to 600-grit sandpaper for even finer polishing. Next, use 1000-grit and after that 2000-grit sandpaper to smooth out any scratches left by the more abrasive sandpapers. If at any point you notice that you've missed a spot, simply go back to the 400-grit sandpaper and work your way up.
The sanding method I just described is great if you need to polish the entire rim. But, if you're working on small scratches, you might not need to do that much sanding. In that case, you can just use 600-grit sandpaper to polish out the imperfections on that one scratch.
When you finish sanding, rinse the wheel with cold water and let it dry.
To finish the polishing process, pour some rim polish on a sponge and apply it slowly and evenly. The polishing job might take some time if you're doing everything by hand. But, if you have a power drill, use it — especially if you have to polish the entire surface of the rim.
After that, use a microfiber cloth to wipe the polish off and make the rim shiny.
6. Applying a New Clear Coat
If you're happy with the results you get after sanding and polishing, you don't have to follow this step. But you'll have to polish the rims regularly to maintain the shine.
Otherwise, you can apply a new clear coat to protect the rims and keep them shiny longer. Before you apply the clear coat, wipe the wheel with rubbing alcohol to remove any grease or dirt.
After that, you need to mask off the tire. If you're doing minor repairs on a small surface, you can use masking tape to protect the tire.
On the other hand, if you're repairing the entire rim, there's a simple trick for masking off the tire completely. Sure, you can take the tire off if you wish, but you don't have to.
Instead, get a pack of note cards and stick them one by one between the tire and the rim. Be sure to go full circle. If you don't have note cards, standard playing cards will also do the trick. Just make sure you create a tight perimeter around the entire rim.
Once you've done that, you can start spraying the clear coat onto the rim. Be gentle and apply it evenly. You shouldn't spray the coat directly in one place but slightly swing your hand over the rim while you're spraying. For the best results, you should apply three coats.
Once you've finished, simply remove the note cards and let the coat dry for a couple of hours.
Fixing Scratched Rims — the Bottom Line
If you don't mind getting a little dirty and breaking a sweat, by all means, try to fix the scratches on your rims by yourself. Be prepared to do a lot of sanding, but if you have a rotary tool it will make the job much easier.
Fixing small scratches and grooves shouldn't be a big issue. Simply — clean, sand, polish, and seal. But, if your rims have deep gouges, you'll have to use a filler. That might be tricky since it's easy to make a mess if you're not careful.
In some cases, you might even have to remove the wheel and the tire to fix your rims. But, you can always take your car to a repair shop if you don't want to deal with that.
All in all, fixing the rims yourself could save you some extra cash since professional rim detailing can be expensive.
RELATED POSTS:
- How to Remove Scratches From a Car at Home
- How to Remove Corrosion from Aluminum Wheels
- Best Tire Shine for Your Car
- Best Spray Paint for Rims
how to fix a scratched rim
Source: https://carroar.com/scratched-rims-repair/
Posted by: weaveracrod1984.blogspot.com
0 Response to "how to fix a scratched rim"
Post a Comment